BMCU 370C Installation Guide
Important Safety Notes
WARNING - Prevent PCB Burn Out!
- Do not plug or unplug any connection wires on the printed circuit board when the printer is turned on.
- Do not touch the circuit board while it's powered on. (Static electricity will short-circuit the printed circuit board, causing the mainboard light to turn red.)
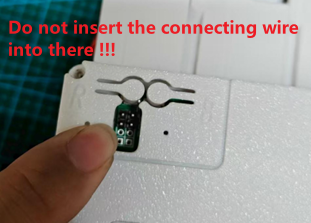
- Do not insert the connecting wire into the burn-in port, as this will cause the motherboard to burn!
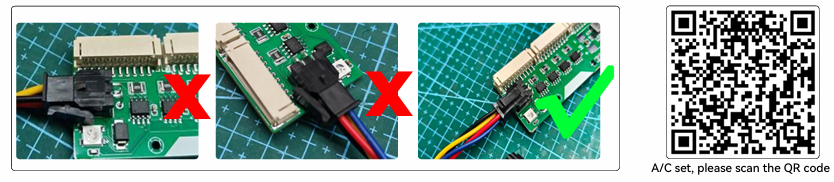
- Do not connect the printer terminals in the wrong direction.
Compatibility
Note
Need to use 1.05 firmware, not 1.06 firmware
Installation Steps
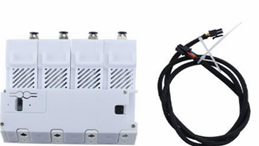
Step 1: Prepare Components
When the goods are delivered, there will be a host and connecting line.
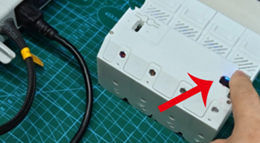
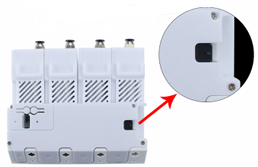
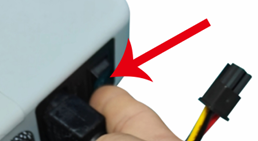
Step 2: Locate Printer Interface
The arrow indicates the interface for connecting the printer.
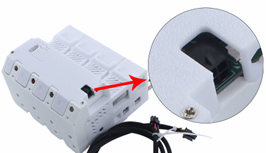
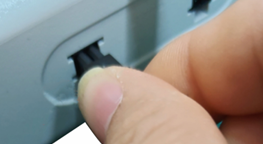
Step 3: Anti-Drop Buckle on 4P Seat
There is an anti-drop buckle on the 4p seat.
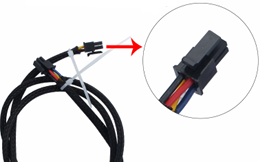
Step 4: Anti-Drop Buckle on Connecting Line
There is also an anti-drop buckle on the connecting line.
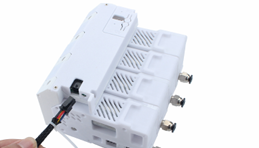
Step 5: Insert Buckle
Insert the corresponding buckle into the buckle, and the BMCU connection is completed.
Step 6: Power Off Printer
Before connecting the printer, please note that the printer needs to be turned off.
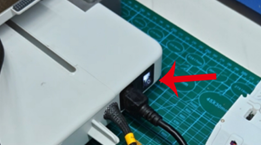
Step 7: Insert Printer Clip
Insert the printer into the corresponding clip.
Warning
If you insert it incorrectly, it will not fit.
Step 8: Turn On Power
After confirming that the insertion is correct, then you can turn on the power.
Step 9: Verify Connection
At this time, the BMCU mainboard status is displayed in blue, indicating that the connection is right.